So I broke down and purchased my own 3D printer, when I discovered some amazing new materials that are 80% powdered metal. They are Bronzefill and Copperfill, created by a company called ColorFabb in the Netherlands. This is like creating cold-cast bronze, but directly printing it instead of casting it in a mold.

My first print using Copperfill turned out great. The material cools a little slower than regular PLA, so it doesn’t warp at all. I did increase the temperature on my extruder to 215C instead of the default 208C. I’m using the Printrbot Simple Metal, which I am very pleased with (that’s an affiliate link, so if you are in the market…). Below are the steps I used to finish my print:
- Print your part. I’m using my design, YodaBuddha

- Clean up the print using needle files, sandpaper, and even a soldering iron! This last tip is a great way to weld different parts together! Use steel wool to buff the surface and expose the metal particles.
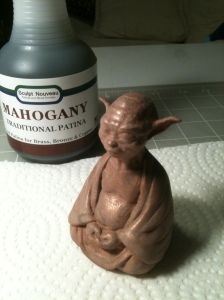
- Apply traditional cold patina (I’m using Mahogany from Sculpt Nouveau) with a brush or spray bottle. You may want to warm up the print with a hair dryer before applying. Let it sit for 10 minutes and then reapply until you get the darkness you want.

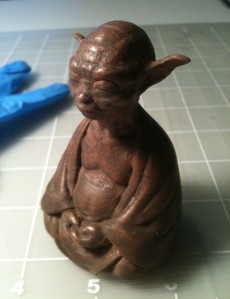
- When the print is dark enough, use the steel wool to gently buff the raised areas to bring out the metallic luster.


- Seal the print with clear wax. I used floor wax!


That was all there was to it. I hope this inspires you to do some 3D printed bronze yourself!


In fact no matter if someone doesn’t be aware of afterward its up to other viewers that they will help, so here it takes place.|
LikeLike
Since I first started using this material, I’ve learned that you can also get a great patina with just salt dissolved in vinegar–just brush it on!
LikeLike